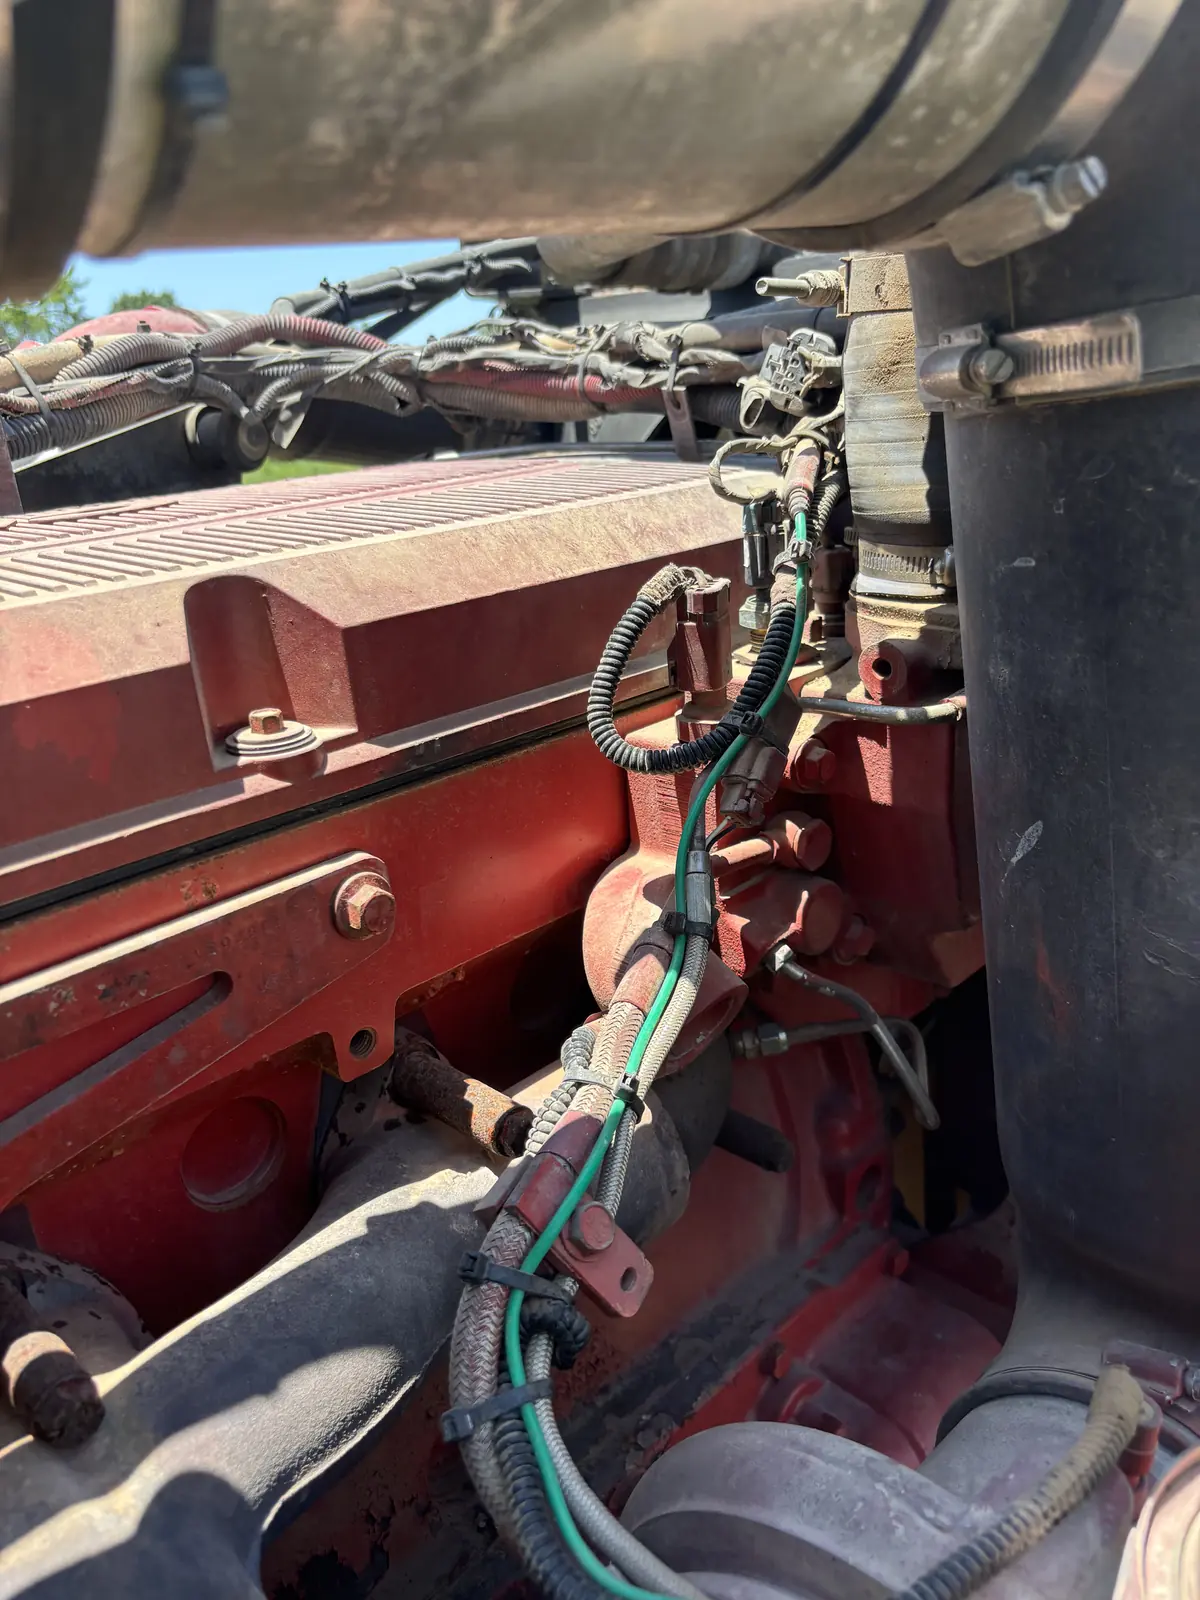
Most Freightliner Cascadia electrical complaints trace back to a handful of physical problems: corroded battery cable ends, a bad ground at the frame, a chafed harness at the cab pass-through, water in a SAM connector, or a trailer cord short that knocked out a SAM output. The truck's multiplexed architecture makes those problems look like module failures on a scan tool, which is why the order of operations matters. Test power and ground first, read the codes second, check the network third, and replace a module last.
How the Cascadia Is Wired
The Cascadia (2008 onward, redesigned for 2018) does not run individual switched circuits to lamps and accessories. Switches and sensors report to modules, and the modules drive the loads:
- SAM Cab (Signal Detect and Actuation Module) sits behind the dash on the passenger side and drives cab loads: lighting, wipers, HVAC, switch panels, and the instrument cluster (ICU) feed.
- SAM Chassis mounts on the frame rail and drives chassis loads: exterior lighting, the trailer connections, and chassis devices. Its outputs are solid-state and self-protecting; a short switches the output off and logs a code instead of blowing a fuse, so "no blown fuse" proves nothing.
- CGW (Central Gateway) bridges the networks: the J1939 powertrain bus (engine MCM, aftertreatment ACM, transmission, ABS), the cab network the SAMs and switch modules use, and the diagnostic bus.
- The CPC (Common Powertrain Controller) sits between the cab and the Detroit engine's MCM; a Cummins-powered Cascadia has the Cummins ECM on the same backbone.
The diagnostic connector is the 9-pin Deutsch under the lower dash to the left of the steering column. Trucks built from about 2016 have the green 9-pin (Type II, 500 kbps J1939); a black Type I cable forced onto it damages the pins.
Step 1: Complaint, Batteries, and Voltage Drop
Write down exactly what the driver saw and when: at crank, on a rough road, in the rain, with the trailer plugged in. Then test the basics before touching a scan tool.
- Rested battery voltage should be 12.6 V or better. Cascadias run three or four Group 31 batteries in parallel; test each one individually, because one bad cell drags the whole bank down. Do not mix AGM and flooded batteries.
- Cranking voltage at the batteries should stay above 9.6 V.
- Voltage drop during crank: under 0.5 V from the battery post to the starter stud, and under 0.2 V from the battery negative to the engine block and to the frame. More than that is a cable end, a loose stud, or corrosion under the insulation, and it produces every symptom on the list below before it produces a code.
- Charging voltage at the batteries with the engine running should be roughly 13.8–14.4 V.
Step 2: Pull Codes from Every Module
Read active and inactive codes from the SAM Cab, SAM Chassis, CGW, ICU, CPC, MCM, and ACM, with counts and time stamps. DTNA's ServiceLink is the OEM tool and is needed for SAM and CGW parameter work; JPRO or a Nexiq adapter with a fleet package reads codes and live data on every module, and have the schematics for the truck's build date. Each code is an SPN (the circuit or parameter) with an FMI (what went wrong with it), and the FMI is where the diagnosis starts:
| FMI | Meaning | Usually means |
|---|---|---|
| 3 | Voltage above normal / shorted high | Circuit shorted to power, or a wrong-wired accessory |
| 4 | Voltage below normal / shorted low | Circuit shorted to ground; chafe, water in a connector |
| 5 | Current below normal / open circuit | Burned-out lamp, broken wire, unplugged connector |
| 6 | Current above normal / grounded circuit | Dead short; on a SAM output, often a trailer cord or a lamp socket |
| 9 | Abnormal update rate | A module dropped off the network; check its power, ground, and the bus |
| 19 | Received network data in error | A module is sending bad data; look at that module's own codes |
Patterns worth recognizing: SPN 168 FMI 3 or 4 (battery voltage high or low) logged by several modules at once is a charging or cable problem, not several bad modules. SPN 639 FMI 9 (J1939 datalink) across the board is a bus problem. A cluster of FMI 5 and 6 codes on SAM Chassis lamp outputs that appeared the day a new trailer was hooked up is the trailer. One module alone showing FMI 9 is that module's power, ground, or connector.
Step 3: Check the J1939 Backbone
- Key off, and wait for the modules to sleep. At the 9-pin connector, measure resistance between pin C (CAN high) and pin D (CAN low).
- About 60 Ω means both 120 Ω terminating resistors are present and the backbone is intact.
- About 120 Ω means one terminator or one end of the backbone is missing or open; walk the bus toward the end that reads open.
- Near 0 Ω is a short between CAN high and low; open or several hundred ohms is a broken backbone or a corroded connector.
- Key on, CAN high and CAN low each sit near 2.5 V with the bus idle; either wire pulled to ground or to battery voltage is the short.
- Wiggle the harness at the cab pass-through, at the SAM connectors, and along the frame rail while watching for the readings to change or codes to set.
Step 4: Power Distribution and Grounds
The physical culprits, roughly in the order they turn up:
- Battery cable ends. The battery box under the driver's side steps collects road spray, and in winter that spray carries the brine put down on I-44 and the turnpikes. Corrosion wicks up under the insulation, so a cable that looks fine at the terminal fails the voltage drop test.
- Ground studs at the frame. Cab-to-frame, engine-to-frame, and the SAM Chassis ground. Clean to bare metal, protect, and torque.
- Chafed harness at the cab pass-through. The cab rides on air and moves against the frame, and the harness that crosses that gap wears through at a clamp or an edge. Intermittent codes on rough road point here.
- Water in the SAM connectors. A windshield seal or cowl leak drips onto the SAM Cab; road spray reaches the SAM Chassis. Green and white corrosion on the pins, and codes that come with rain.
- Trailer cord shorts. A pinched 7-way cord or a shorted trailer lamp socket takes out the SAM Chassis output for that circuit. The output recovers after the short is removed and the key is cycled; it does not need a module.
- Add-on accessories wired to the wrong circuit: the parasitic draws and low-voltage codes that show up a month after an inverter or ELD went in.
Step 5: Functional and Parasitic Draw Tests
- Back-probe the suspect circuit, operate the load from the switch, and watch the SAM output on live data. A command with no output is the module or its connector; an output with no load is the wiring or the device.
- Parasitic draw: clamp an ammeter on the negative cable, shut down, and wait for the modules to sleep, which on a Cascadia can take 30 to 60 minutes. Under about 50 mA is normal; if it is higher, pull accessory feeds and SAM outputs one at a time until it drops.
- Clear codes, road test over rough pavement with the trailer connected, and re-read.
Fix First, Replace Last
Modules on these trucks are rarely the failure and never the first thing to replace. A SAM or CGW swapped without finding the short that killed it dies the same way, and a replacement has to be programmed to the truck. Repair chafe with sealed heat-shrink splices and re-route the harness, replace corroded terminals and connector bodies rather than cleaning pins that have lost their plating, and log what was measured so the next intermittent complaint starts from data.
FAQ
Can this be diagnosed at the yard?
Yes. The voltage drop tests, code reads, bus checks, and harness repairs are all service-truck work. See diagnostics, Freightliner repair, and semi truck repair.
Why does the truck act up only in the rain?
Water in a connector or a chafed wire that grounds only when wet. Start at the SAM Cab and the cab pass-through.
Need This Done On-Site in Tulsa?
Tulsa Fleet Repair is a mobile operation — the service truck comes to your yard, jobsite, or breakdown location anywhere within 120 miles of Tulsa, with 24/7 emergency response when a unit can't wait. Call (918) 925-9356 or request service online.